Maybe you’ve got a large painting project coming up, like painting a room or the outside of the house. Or, maybe you’ve got something manageable and small, but with a ton of hard-to-access spots, like furniture. Perhaps you just want to blast through your project at lightning speeds. If you’re looking for a quality finish but don’t want to waste a bunch of time rolling or brushing on your paint, you might learn how to use a paint sprayer. For this article, we assume an airless paint sprayer, but most of the tips also work with smaller handheld units as well.
How to Use a Paint Sprayer
Step 1: Prep for the Work
In the spirit of full disclosure, when you use a paint sprayer, you typically spend half of the time on prep. Prepping the room or area that you plan to paint might be just as important as the process of painting itself. The truth is that spraying paint all over a wall causes a big mess, even if you’ve got steady hands and solid technique.
If your work takes you inside, you’ll want to remove all of the valuables from the room. Clear out any furniture, area rugs, or items you don’t want misted with paint. You also get another benefit from this technique. If you have no furniture left in the room, you also won’t snag your hoses while spraying. If you can’t quite remove all of the furniture, at the very least move it all to the center of the room and cover it with plastic.
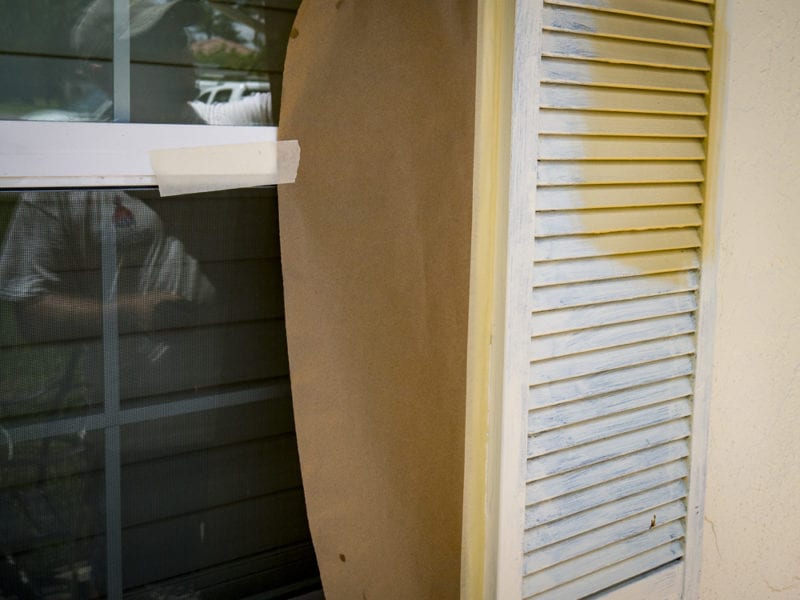
As far as the actual work surface goes, cover up everything you don’t want to be painted. Use drop cloths to keep your floors safe. Painter’s tape and paper or plastic sheeting should keep your trim work free from overspray. We really like using PlazMask pre-taped masking film.
Temperature is probably a more important variable than a lot of us realize. Avoid painting in both weather extremes—hot and cold. Heat causes paint to dry too quickly, preventing it from bonding. The excessive cold causes your spray gun to clog up. Ideally, you’ll want to paint in temperatures between 45 and 75 degrees Fahrenheit. You should also avoid spraying in direct sunlight if you can help it. This causes the paint to dry too quickly.
Quick Note on PPE for Painting: Once you’ve worked out all the other issues, you’ll still need to keep yourself safe. Make sure that your work area is well-ventilated. Ensure that you’ve got some protection from paint fumes. Having a respirator or facemask handy would be wise.
Also, expect to get messy. Goggles might not hurt, especially if you plan to paint overhead. You also either need to wear clothes that you don’t mind getting paint all over, invest in coveralls, or just paint naked. We’re kidding about that last part…unless you live alone. Very very alone.
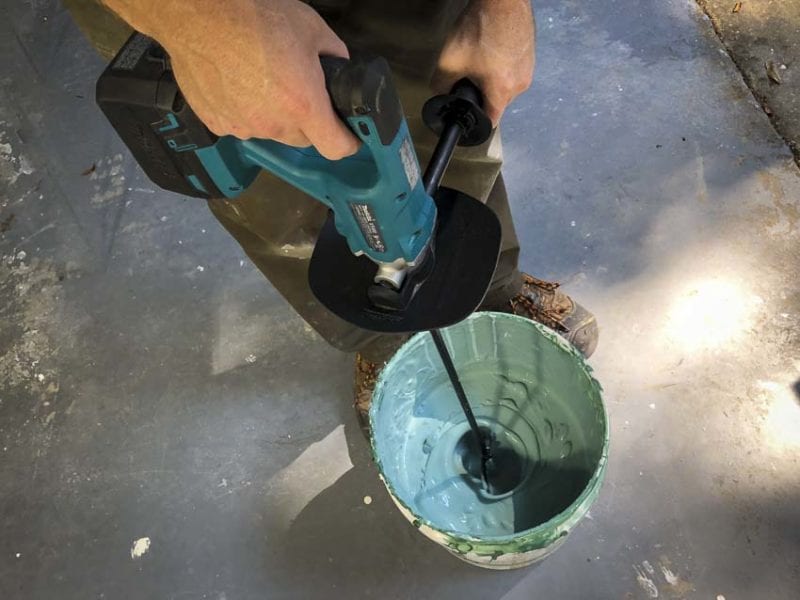
Step 2: Mix Your Paint and Test the Paint Sprayer
Once you have everything prepped and ready you can mix your paint. After giving it a good stir (or shake), run it through a paint strainer to remove any debris that might cause your spray gun to clog and splatter.
Next, practice spraying on a piece of cardboard or some other impermanent piece of material you don’t mind throwing away. If you’re new to using a paint sprayer, this is a good time to get to know what you’re working with.
Every sprayer works slightly differently. You want to acclimate yourself to how much paint the sprayer puts out and how wide a pattern you get from the tip. This also presents a good opportunity to practice your spraying technique.
Pros understand spray tips and quickly get familiar with their tools from extended use. For this article, we have to assume you may not have that same level of experience—so take your time.
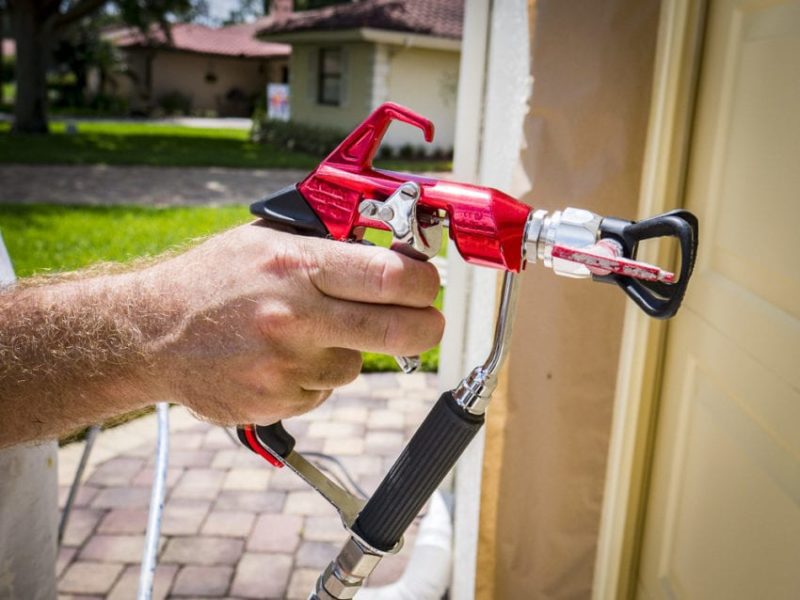
Step 3: Using a Paint Sprayer is All About Technique
Keep a Consistent Distance When Spraying
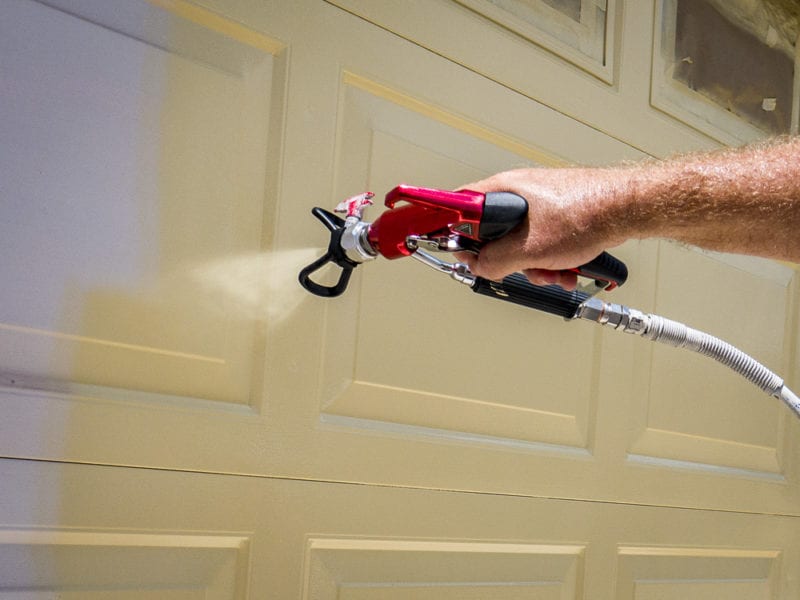
Speaking of spraying techniques, when you use a paint sprayer, keep the distance between your gun and your material as consistent as possible. This is important to remember because if you’re anything like me, your natural inclination will be to get lazy about this bit of technique and move your arm in an arching motion. That’s all sorts of wrong, and you’ll notice that the fruits of your labor will yield a splotchy, uneven final product.
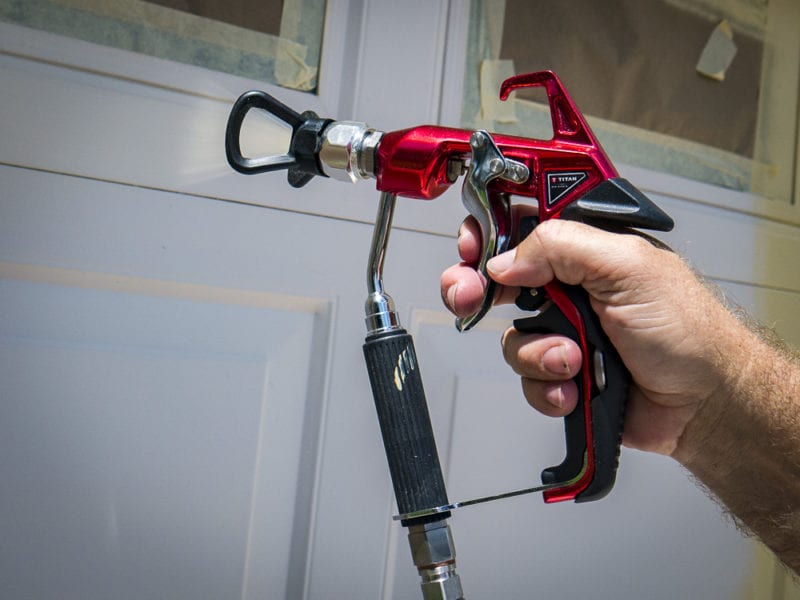
Stay Perpendicular to the Surface
Instead, keep your nozzle perpendicular to the surface as you move the gun back and forth. Use your wrist. Try and maintain a consistent 10-12 inch distance away from the surface. This is important because your distance affects how much paint you apply to the surface. A nozzle that sprays at half of this recommended distance will apply four times more paint!
Start Moving the Gun Before You Pull the Trigger
To avoid a blob of paint, start moving the gun before you pull the trigger and begin spraying. Paint sprayers, if it hasn’t been made apparent yet, apply paint quickly. You need to move just as quickly to avoid overloading your work surface and causing runs. Typically, we recommend you try to cover 2 or 3 feet per second.
Check Your Spray Pattern
Assuming you’re working on a larger surface, you’ll want to adjust your paint sprayer so that it produces a viable pattern. For most larger projects, a spray pattern in the 8-12 inch range works very well. A narrower pattern can apply too much paint while a wider pattern requires multiple passes to get proper coverage.
Overlap Each Pass with the Paint Sprayer
Finally, you’ll want to overlap each pass by about half the width to avoid leaving stripes or light areas. Avoid tipping your nozzle up or down, as that can cause your gun to spit.
Final Pro Tips on How to Use a Paint Sprayer
Less is More
As with many things in life, sometimes less is more. You might find that this old adage applies when you use a paint sprayer as well. You can always go back and hit the surface with another pass if you need to, whereas overapplying can lead to paint runs and sags, uneven drying, and eventual peeling.
Check Your Work
After finishing a section, take a few steps back and check for anything you’ve missed. If you find any light spots, you can make another pass. Just be sure to move the spray gun quickly, moving before you pull the trigger.
Tips for Spraying Corners
With walls, start at the corners first. And, just like with flat surfaces, maintain your distance and speed for consistency. However, rather than moving side to side, move vertically, aiming directly at the corner. With corners, you also want to move a bit more quickly to avoid applying too heavy a coat.
Backrolling or Brushing – Using a Paint Sprayer as an Applicator
With some surfaces—like wood siding or Hardiboard, you might decide to backroll or back brush it. This gives you a thicker, textured application of paint. Even then you can use a paint sprayer to your advantage. With this technique, you’re basically just using the paint sprayer to deliver the paint to the surface quickly and then going back over it with a brush or roller to roll or brush it out.
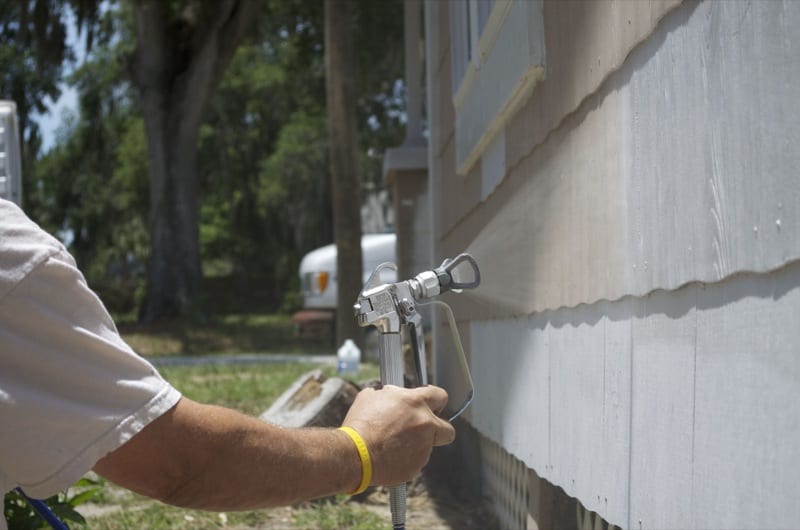
In this way, your paint sprayer becomes your applicator. That’s a much more efficient way to get paint onto a surface than continually dipping a roller or brush into a bucket! You can shave hours off the job using this technique.
Thanks for reading! If you’ve got any tips or suggestions for how to use a paint sprayer, feel free to leave your comments in the section below.