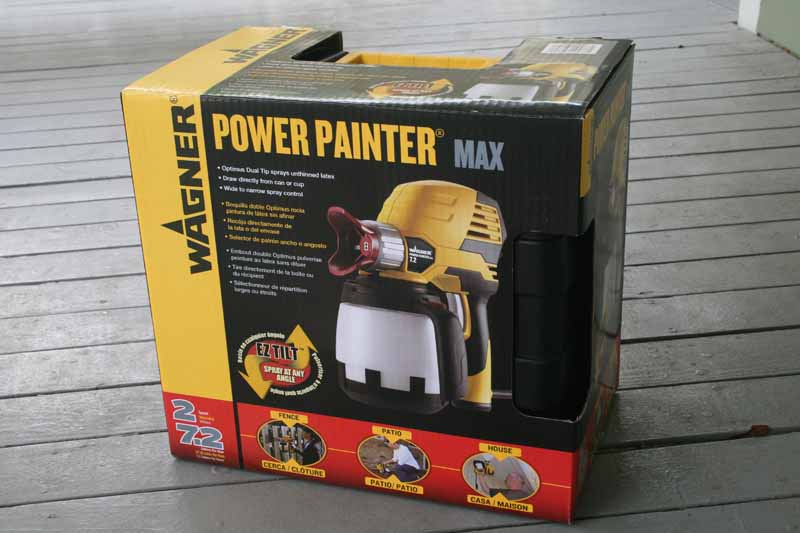
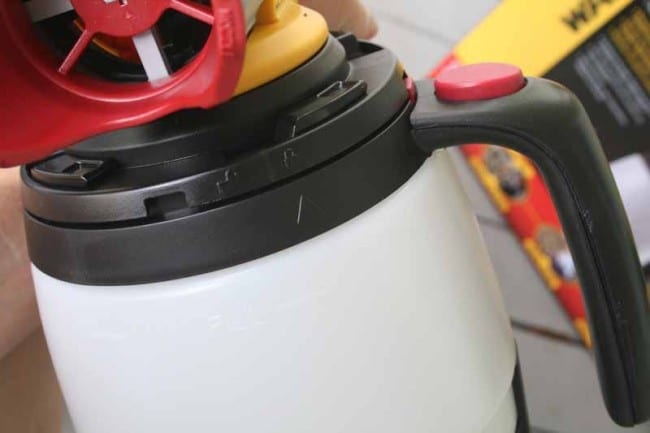
Wagner is a name that is well-known for it’s line of project paint sprayers. When we saw a release that debuted their newest Power Painter EZ Tilt series, we knew we had to give it a try. Wagner sent us the newest Power Painter Pro Max with EZ Tilt (model 0525032) and their new Optimus Dual Tip Technology. The project we had in mind was a small addition on the back of a local home. While the siding was made of T1-11, the real attraction was that eaves and a small porch roof meant that we’d have to do a lot of overhead and angled spraying.
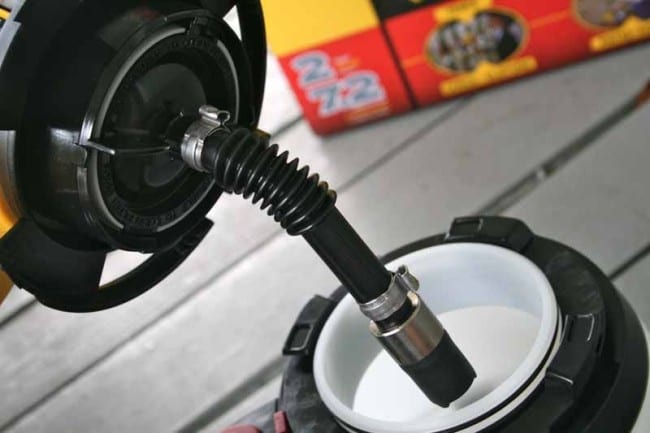
With a typical electric project sprayer, this presents a problem. Wagner, however, has claimed to have licked this with their new EZ Tilt suction tube. The principle is simple enough – a weighted, one-way nozzle sits in the supply bucket. When you tilt the sprayer up, the paint—and more importantly, the EZ Tilt suction tube—drop to the bottom of the attached 1-1/2 quart cup. This allows the Power Painter to be used vertically and still pull paint through the suction tube and into the sprayer. OK, we knew how the system was designed, now we wanted to see if the Wagner Power Painter Pro lived up to its claims.
Wagner Power Painter Pro Build Quality
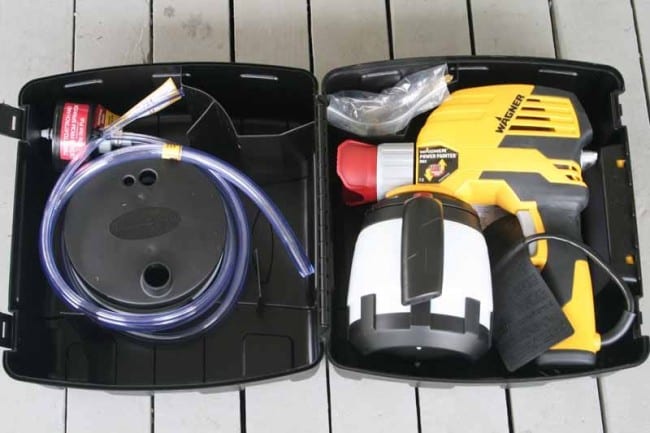
Cracking open the retail packaging, we saw that the Wagner Power Painter Pro kit comes in a plastic case that has real hinges and secures itself with plastic clasps. It’s very particular, and we had more than a little difficulty getting the sprayer and accessories back in so that it would close. In fact, we would rather have seen a bag instead of the case as it almost took longer to repack the Power Painter than it did to clean up!
Inside the case we found the sprayer, remote suction hose kit, fill lid and threaded adapter, cleaning and lubricant accessories, and the user manual. The sprayer is a bit heavy, particularly when the 1-1/2 quart cup is fully-loaded loaded with paint.
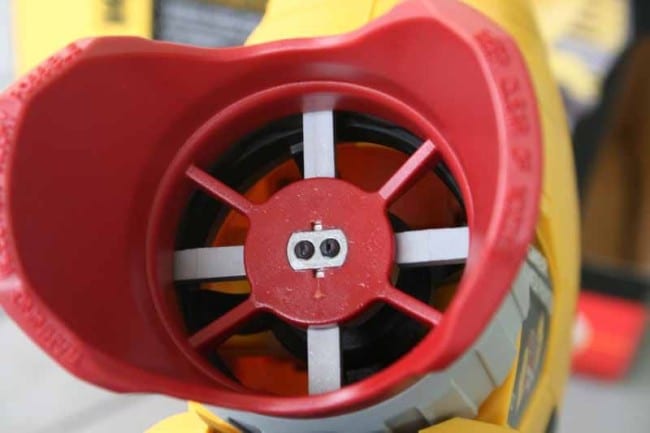
The first thing you will note about the Wagner Power Painter Pro is the Optimus Dual Tip, which really struck as as something special. It’s clear that it was going to offer a lot more coverage, simply from its design. The spray tip also easily adjusts for vertical and horizontal spraying.
 The Power Painter Max comes with an unusually short 12″ cord. This posed several problems. First, there was no included strain-relief accessory, so we found ourselves constantly re-plugging in the electrical extension cord since it would fall out every few minutes. We couldn’t even do a fancy tie-off since Wagner opted to use a rubber warning label that didn’t allow the short cord to be knotted. Eventually we rigged our own strain relief with some hook and loop strapping. If would be nice to see Wagner address this in future iterations. But even better than adding strain relief, we’d actually appreciate a longer power cord. Since the plug is so high up, it actually adds to the weight of the sprayer, and it would be much better to relocate this further down the line with a 10-12 foot length of cord. Here’s our clever workaround solution which we’re hoping will result in a redesign sometime in the future (Note: we don’t seriously endorse wrapping extension cords around your neck).
The included 1-1/2 quart cup attaches to the bottom of the Power Painter Max sprayer and allows you to do quite a bit of painting before you have to refill. This larger container was a welcome addition, but it’s also the source of a lot more weight, and so explains the presence of the side handle, which we found to be quite useful in holding everything up during use. With the unthinned exterior Behr Premium Plus Ultra Paint & Primer we were using, 1-1/2 quarts added about 5 to 6 lbs of weight to the tool during use (when full, of course).
Note on the Paint
We used Behr Premium Plus Ultra Exterior Paint on this project. What we liked about this paint was that it was a high quality, mildew resistant, paint and primer all combined into one. Since we were spraying siding material that was pre-primed, we felt this was the perfect solution that kept us from having to spray aprimer base before our final color. Additionally, this location gets tons of sun and Behr’s Premium Plus Ultra is designed to protect surfaces from damage caused by sunlight, moisture, stains and dirt. This is a great all-around paint and can be applied on exterior surfaces such as wood, vinyl, aluminum, fiber cement siding, brick, masonry, stucco, doors, windows, trim, shutters, fences, garage doors, outdoor furniture, railings and wrought iron. Try that with another paint and you’ll probably be back sooner than later to re-prime and paint.
Testing & Use
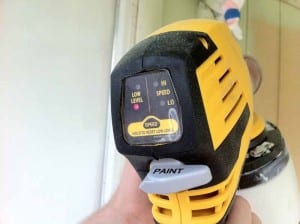 The Wagner Power Painter Max was very easy to use, and it delivered a nice, even coat of paint that filled in crevices and didn’t drip. There is a fill line on the translucent paint cup, but it’s nearly useless once you use it as the paint will coat the interior and prevent you from seeing the paint level. Thankfully, Wagner included a low level light on the back of the Max and Pro sprayer models, which seemed a bit finicky but worked most of the time to give you a warning before you reached the bottom of the paint cup. The EZ Tilt suction hose was incredibly at bringing up just about every drop of paint from the cup before having to be refilled. Since the one-way seal on the tube seals the paint inside, it also keeps you from having to re-prime the sprayer each time you reload.
The Behr Premium Plus Ultra Exterior paint we used did a great job of covering the rough texture of the T1-11 plywood siding material. While the Power Painter Max delivered a nice thick, even coat of paint, where it really blew us away was when we tilted it up to do eaves and the bottom of an overhang roof. We literally had the Power Painter held at a near-vertical position and the paint just kept coming – and it did so until the low level light came on when the cup was nearly empty The EZ Tilt suction tube really did its job and was the star of the show with respect to this series of electric painters from Wagner.
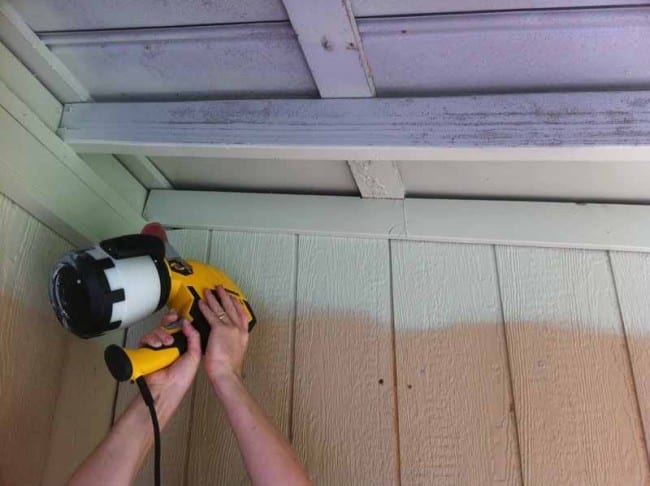
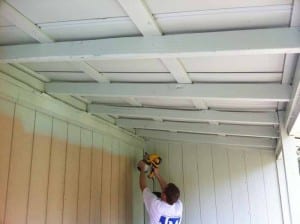 After using the Wagner Power Painter Max with a couple of painting projects, we can heartily recommend it for project work. This isn’t something you want to use for an entire home, but for painting sheds, additions, or small rooms, it’s going to be hard to beat. Playing with the Hi and Low speed settings should allow you get a bit more control, but like all project sprayers, you’re using a general purpose tip and so you may have a bit more overspray than you’d like, especially for more delicate operations. In less than 2 hours, however, we had unpacked the sprayer; painted over 600 square feet of siding, eaves, posts and ceiling; and even cleaned and re-packed the sprayer. That’s a job that would easily have taken us 3-4 times that amount of time with a brush and roller. The finished job was neat and beautiful and got us ready to go back in and cut in the trim with our accent color. For jobs like this, the Wagner Power Painter Max is going to save you tons of time and money.
Cleanup was simple, but it’s also critical. With a tool like this you want to absolutely make certain you fully disassemble it and use the included brush to clean the piston chamber and other orifices where paint could dry up and stick to the surfaces. Be sure to fully rinse out the filter and stick to the recommended uses which means that you should not run textured materials, lacquers, or industrial enamels through it.
Conclusion
We really liked using the Wagner Power Painter Max. The EZ Tilt suction tube allowed us to paint longer, and in positions that meant we could finish an entire exposed roof without having to keep the paint cup completely full. The plastic case leaves much to be desired and we wish it had a longer cord, but aside from that it’s a great sprayer for small to medium painting projects. We gave the Power Painter Max a 7/10 Performance rating, and for value, the $150 street price is a steal for a tool that will save you this much time and energy so we gave it an 8/10. Take good care of this product and we can easily recommend it as something that will last you a long time.

