Changing a Drill Bit Is Easier And Faster Than You Might Think
Learning how to change a drill bit is very similar whether you have a Milwaukee, DeWalt, Black & Decker, Craftsman, Ryobi, or another brand of drill. However, there are several types depending on how you’re using the term “drill”. No matter what type you have, this guide can teach you what you need to know.
Editor’s Note: If you want an even more comprehensive artile, check out what we wrote on how to use a drill.
How to Change a Drill Bit on a Drill with a Keyless Chuck
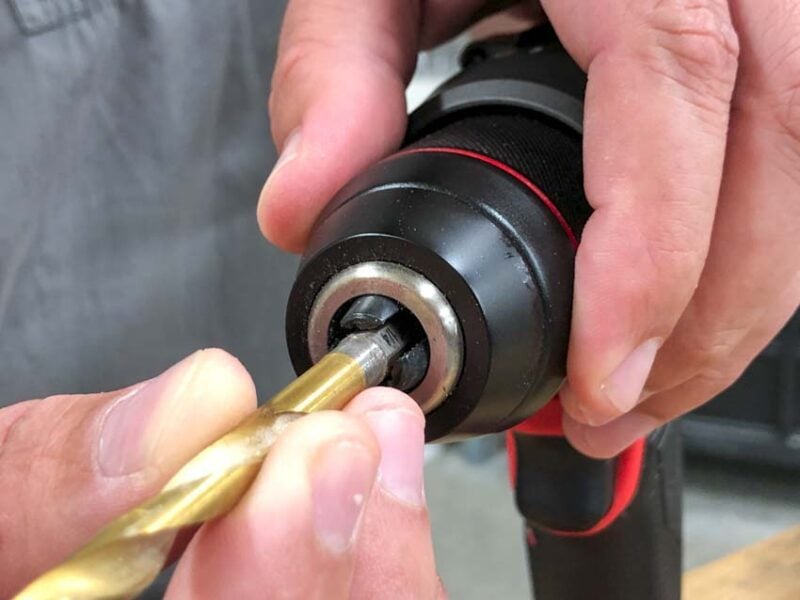
By far the most common type of drill chuck today is a keyless chuck. Chances are, the answer to your question is in this section. Unlike your dad or grandpa’s old drill that had a funky-shaped key clamped to the cord, keyless chucks require no tools at all.
Keyless chucks tighten and loosen by simply spinning the chuck’s outer housing. As you’re holding the drill with the chuck pointing away from you, spinning it counterclockwise tightens the jaws around your drill bit, and spinning it clockwise loosens it.
When you’re installing a bit for the first time, loosen the chuck (clockwise) until it’s just wide enough to slip the drill bit into it. Then tighten it (counterclockwise) until you feel it begin to resist and then tighten a little more.
Some drill chucks have a ratcheting mechanism to help. If your drill does, you’ll feel and hear it clicking as the jaws tighten around the bit.
To remove a drill, bit, simply turn the chuck clockwise until you feel it release the bit.
Pro Tip: If you change a drill bit and it wobbles funny when you pull the trigger, it might not be centered between the jaws. Loosen the chuck and make sure all the teeth are engaging the bit as you clamp them back down.
How to Remove a Stuck Bit From a Keyless Chuck
Sometimes, a drill chuck can be so tight on a drill bit that it’s difficult to loosen it. In this case, your best bet is to grab a pair of adjustable pliers (Channellocks). Set them to a width that grabs the outside of the chuck and use the additional leverage from the handles to loosen it.
It can be helpful to lightly clamp the drill in a vice to give you an extra hand.
Three warnings, though. All-metal chucks are pretty durable, but you can damage plastic ones with your adjustable pliers if you put too much force on the chuck.
Similarly, you can damage the housing of your drill if you decide to put it in a vice and apply too much force.
Finally, never, ever try to loosen the chuck by clamping it in a vice and pulling the trigger. With the force of some of today’s drills, even the strongest Pros don’t have the hand strength to keep the drill from whipping around and hurting their wrist and elbow.
How to Change a Drill Bit on a Drill with a Keyed Chuck
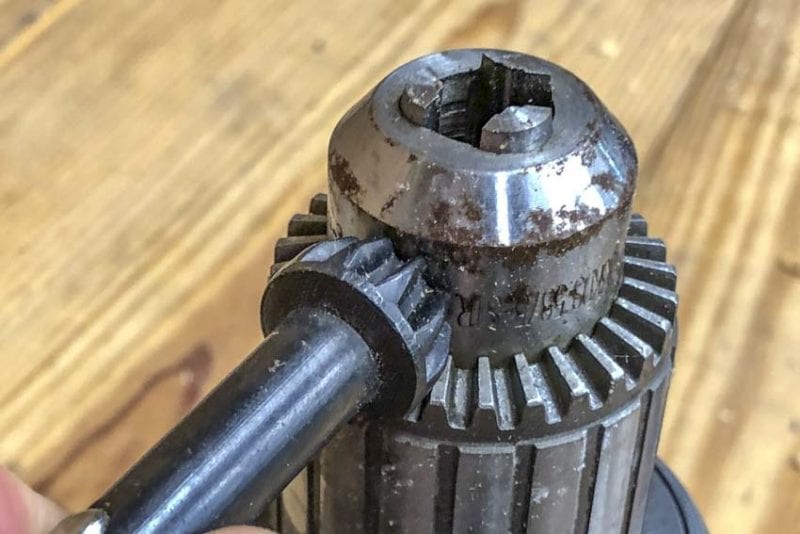
Even though most modern chucks are keyless, there are some keyed models running around. The overall principle is similar, though.
First, set the tip of the drill’s key into the matching hole on the chuck. You might have to give it a little turn so the teeth are able to slip together. From there, turn the key clockwise to loosen the chuck and counterclockwise to tighten it.
How to Change a Drill Bit on an Impact Driver/Impact Drill
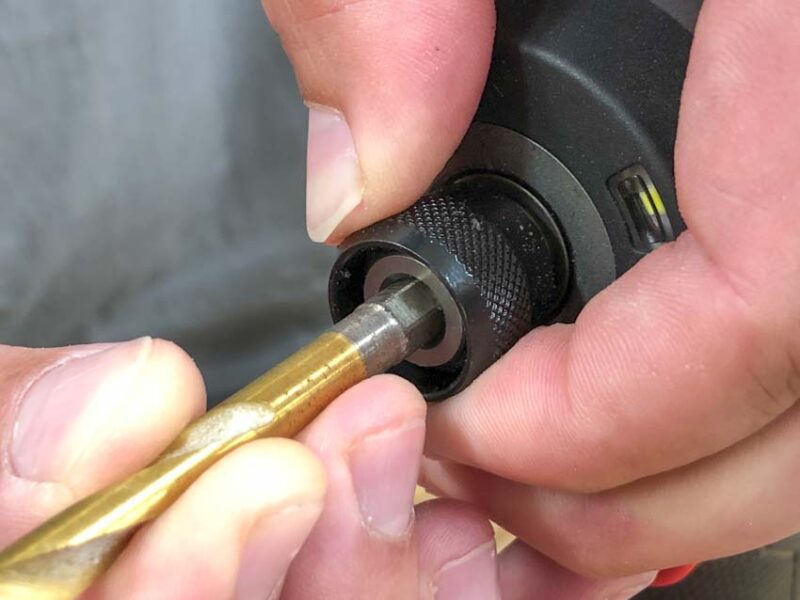
Some people refer to an impact driver as an impact drill. 10 years ago, we might have argued that it’s the wrong term. However, today there are 1/4-inch hex shank drill bits specifically designed to work with your impact driver. Technically, that makes it an impact drill.
Instead of a chuck, an impact driver has a collet at the front. To change a drill bit, pull the outer part of the collet out to release the bit that’s in there. You also pull it out to install a new one. Easy peasy.
Some impact drivers have upgrades that make the process even easier. There are designs with one-hand bit insertion that let you slide the bit in without having to pull the collet.
There are also collets with active bit ejection. They have a spring that pushes the bit out when you pull the collet so you don’t have to put your hands on a hot drill or driver bit.
Did you learn what you came for? If we didn’t answer your question, please leave us a comment and we’ll do our best to answer it for you!
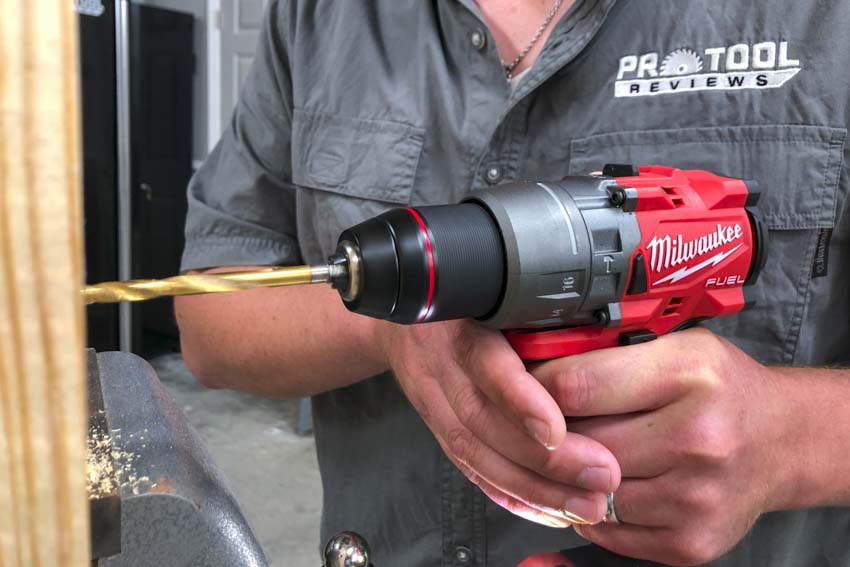
Want to know more about the drill and impact driver we featured in this article? Check out the details on Milwaukee’s 4th generation M18 Fuel Hammer Drill and Impact Driver!



From your article: “When you’re installing a bit for the first time, loosen the chuck (clockwise) until it’s just wide enough to slip the drill bit into it. Then tighten it (counterclockwise) until you “feel it begin to resist and then tighten a little more.” Which direction you turn the chuck depends on which end of the drill you’re pointing away from you. The picture in the article shows the drill facing towards the camera, so loosening the chuck in this scenario by turning it clockwise is bass ackwards. Stating to turn anything that I can think of clockwise to… Read more »
How about Bosch? Did you know they have a few impacts out there that are the standard 1/4″ quick change but they are a different shape…they are not round, they are square and they also accept a 1/2″ drive socket. They are they only brand to have this and it can be very handy.