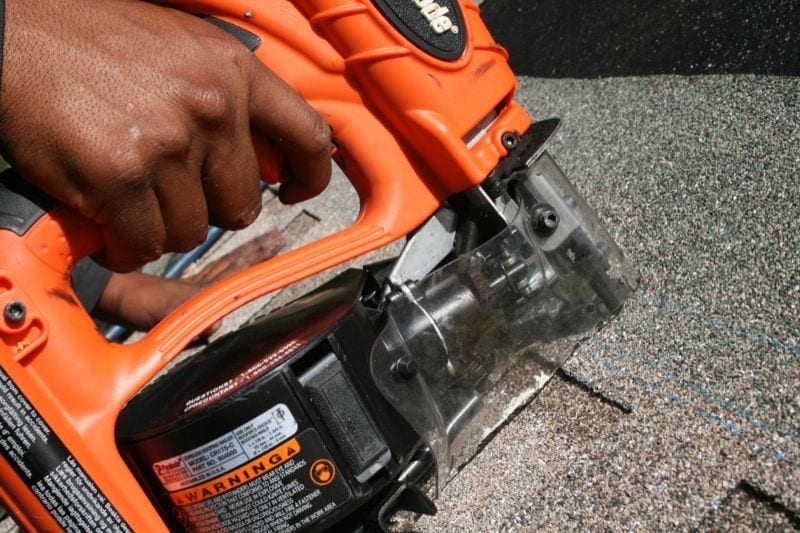
With the rare exceptions of Spanish tile or metal, asphalt shingles top off the majority of residential buildings. These shingles are held in place with short, wire-collated, flat-headed roofing nails driven by a roofing nailer. Nailers come in two varieties – coil and stick – that can be used in different applications.
There’s no shortage of debate about what type works best so it seems that it really comes down to preference. However, coil roofing nailers are overwhelmingly used for roofing for several reasons. These include cheaper nails, full head nails, more nails choice (smooth, ardox, galvanized), longer working time before reloading, and the ability to carry the nails in the gun instead of in a pouch. So if you need to install shingles, there are some important things you must know since nailer use results in tens of thousands of injuries each year. Here’s how to use a roofing nailer like a pro.
Table of contents
How to Use a Roofing Nailer Safely
We say it all the time but it bears repeating: Wear eye protection. You’ll be shooting nails, after all. And obviously, there’s an inherent danger in using a roofing nailer in that you are on a roof. The first rule of roofs: don’t fall off. As you’ll read in number 7 below, it’s also quite important that you know the dangers associated with bump/contact mode.
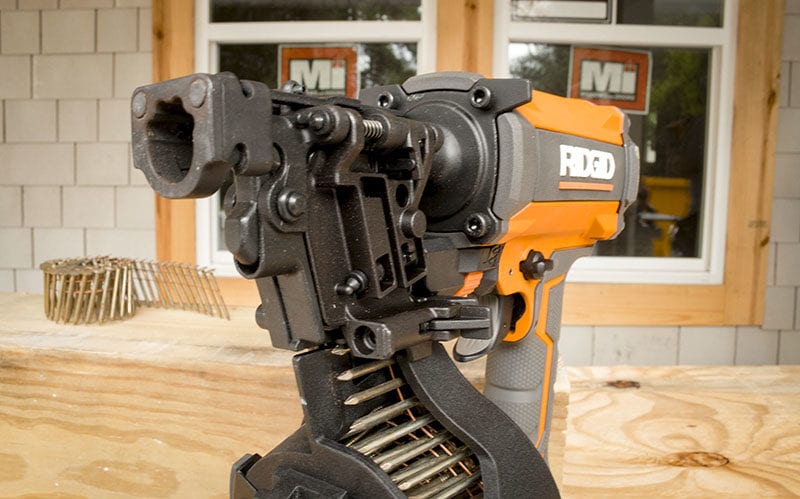
You also want to pay attention to fall and ladder safety and adhere to OSHA guidelines. That especially holds true if you work on a larger jobsite and not for yourself.
Use the Right Air Compressor
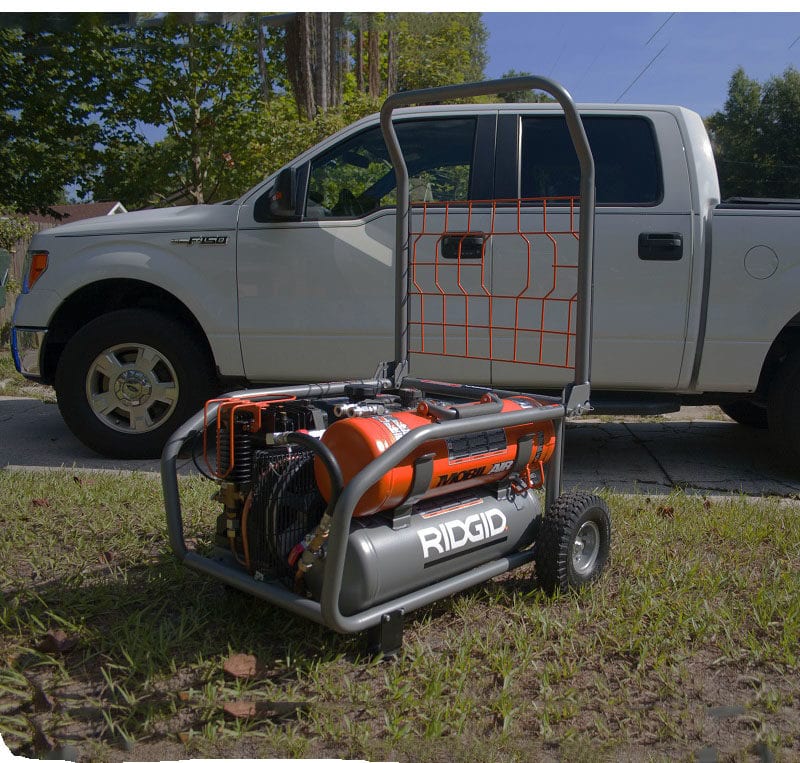
Roofing nailers can fire up to ten nails per second in some cases. That takes a lot of air. You may not need the best air compressor, but those smaller pancake models won’t likely keep up. Make sure you have a compressor that at least matches the manufacturer’s air consumption specs.
If you plan on running two guns at once, then having a large enough compressor ensures you don’t misfire when two guns fire at the same time. When running a crew, this goes double.
Loading a Roofing Nailer
To load the canister on a roofing nailer, open the feeder door and the magazine door. They typically open in opposite directions, to expose the whole nail feed path. Remove any rubber bands or retainers that might surround the coil of nails.
Next, insert the coil into the canister with the nails pointed down. Unwrap just the very end of the coil so that the first nail gets positioned in the barrel.
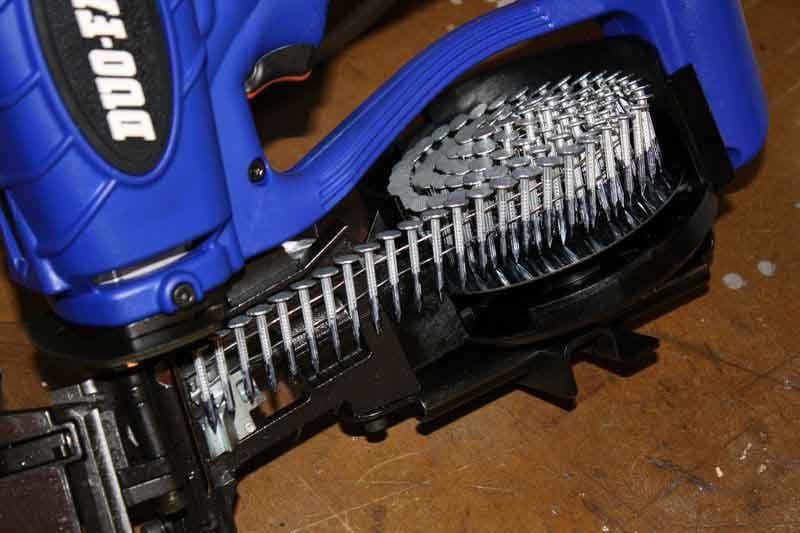
If you switch from longer to shorter nails (like when nailing eaves that could show the nails), check the plastic “floor” underneath where the nails sit. This round platform should raise and lower (often by spinning it) to get the nails in the proper position for firing. Lastly, close both doors.
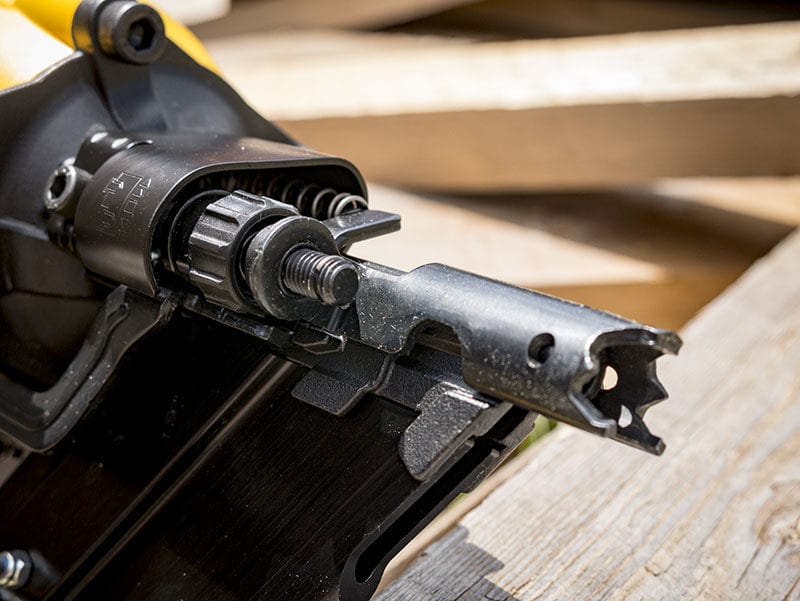
To ensure a perfect result, you can also adjust the firing power through a depth adjustment near the nose of the tool. When you make any of these adjustments, make doubly sure to disconnect the air supply to the tool. This translates into the battery when using gas or battery-powered roofing nailers. Finally, give it a test shot before you try to rapidly fire nails into your shingles.
Adjust the Exhaust Deflector
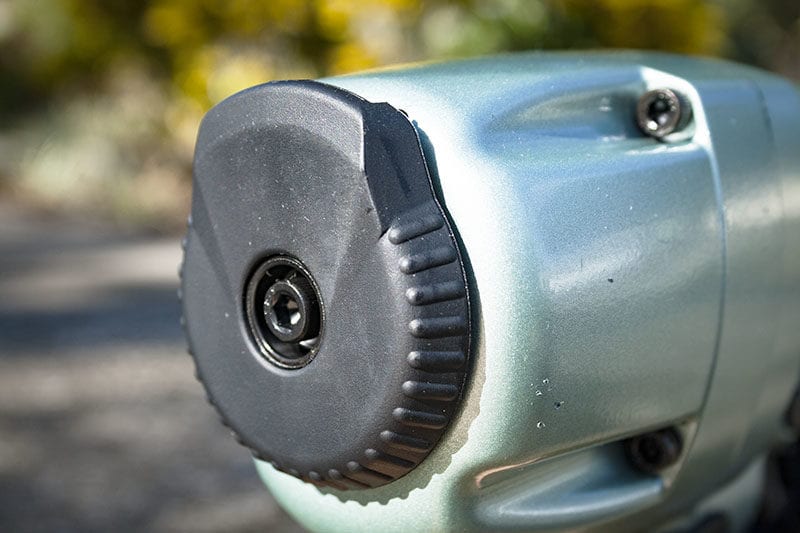
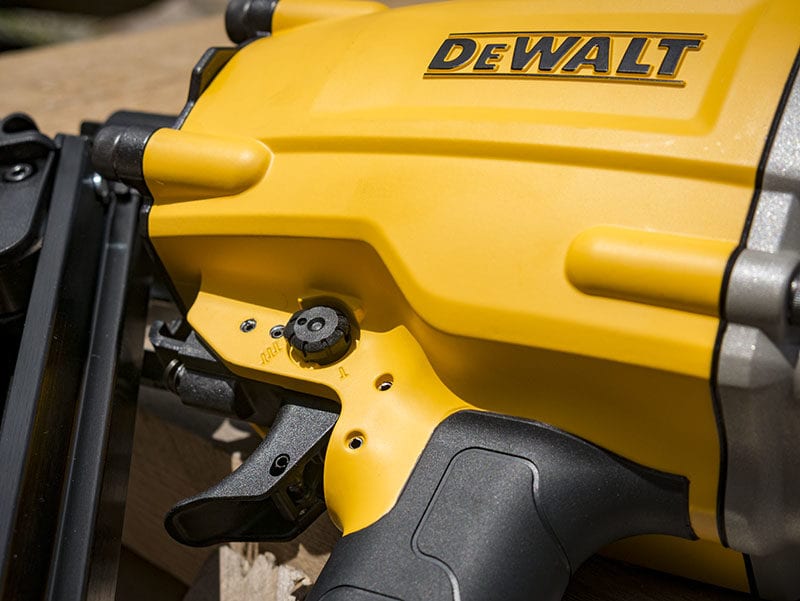
Roofing nailers expel a burst of air after driving each nail. Typically, this doesn’t present a problem, however, some roofing nailers do double-duty as siding nailers from the ground or a ladder. In that case, if your nailer has an adjustable deflector, you may want to direct it away from your face to avoid the blast.
Set the Firing Mode
Nailers usually have two firing modes: single action and a bump/contact mode. Single action drives one nail each time you pull the trigger. In bump/contact mode, you can use the roofing nailer to drive. nail each time the head comes in contact with the work surface.
This firing mode presents more danger because you could encounter unintentional firing. The rapid burst of air driving each nail also causes recoil. This recoil can shift the gun over just after firing a nail. That can cause you to fire a nail where you may not want it. These double shots occur with anyone from time to time but present n especially nagging problem for new users.
Bump/contact allows for quick work, and most professional roofers use it. You just need to understand the danger it presents until you fully understand the tool and grow some muscle memory.
Pro Tip: Before you bump fire any new nailer, test it on some scrap lumber to get an idea of how much recoil to expect before you climb on the roof!
Fire Away and Find Your Rhythm
Professional roofers install shingles at seemingly superhuman speed. IN the end, it’s really all about finding a rhythm. Building muscle memory as you repeat the same cycle over and over does wonders to increase speed naturally and safely. Don’t go faster than what you’re capable of, rather find a pace where you have both control and efficiency as you learn your craft.
Bonus: Using a Shingle Guide
The shingle guide is like a jig for the shingles to ensure the nails are all the same distance away from the edge of the previous shingle. Most Pros toss these, but it may be helpful for those just starting out.
Wrapping Up Our How to Use a Roofing Nailer Guide
If you’ll be using a roofing nailer a lot, you’ll find that drivers are among the most expensive replacement parts on a roofing nailer because they wear down nail heads don’t sit flat. The good news is that you can grind a driver two or three times before it becomes too short and needs replacement.
We hope you’ve picked up some tips on how to use a roofing nailer like a pro. If you’re a Pro and you have roofing tips, add them in the comments below — or share them with everyone on Facebook, Twitter, and Instagram.



If you want to shingle like a pro, first of all, you need to have a Hitachi coil nailer. Use a generous amount of oil daily or every other day of use. Spray your canister and the advancing mechanism with WD-40 every morning before you load it so that the coils don’t stick. Make sure you have a compressor that can run your gun. Without enough air, you are better off to break out your roofing hammer and start hand nailing. You should have a nice, thick main hose that leads into a lightweight lead hose. If you are shooting… Read more »